Relatively Practical Applications of Castable Wood Composites with Soy Based Adhesives for Household (Art) Objects
Background
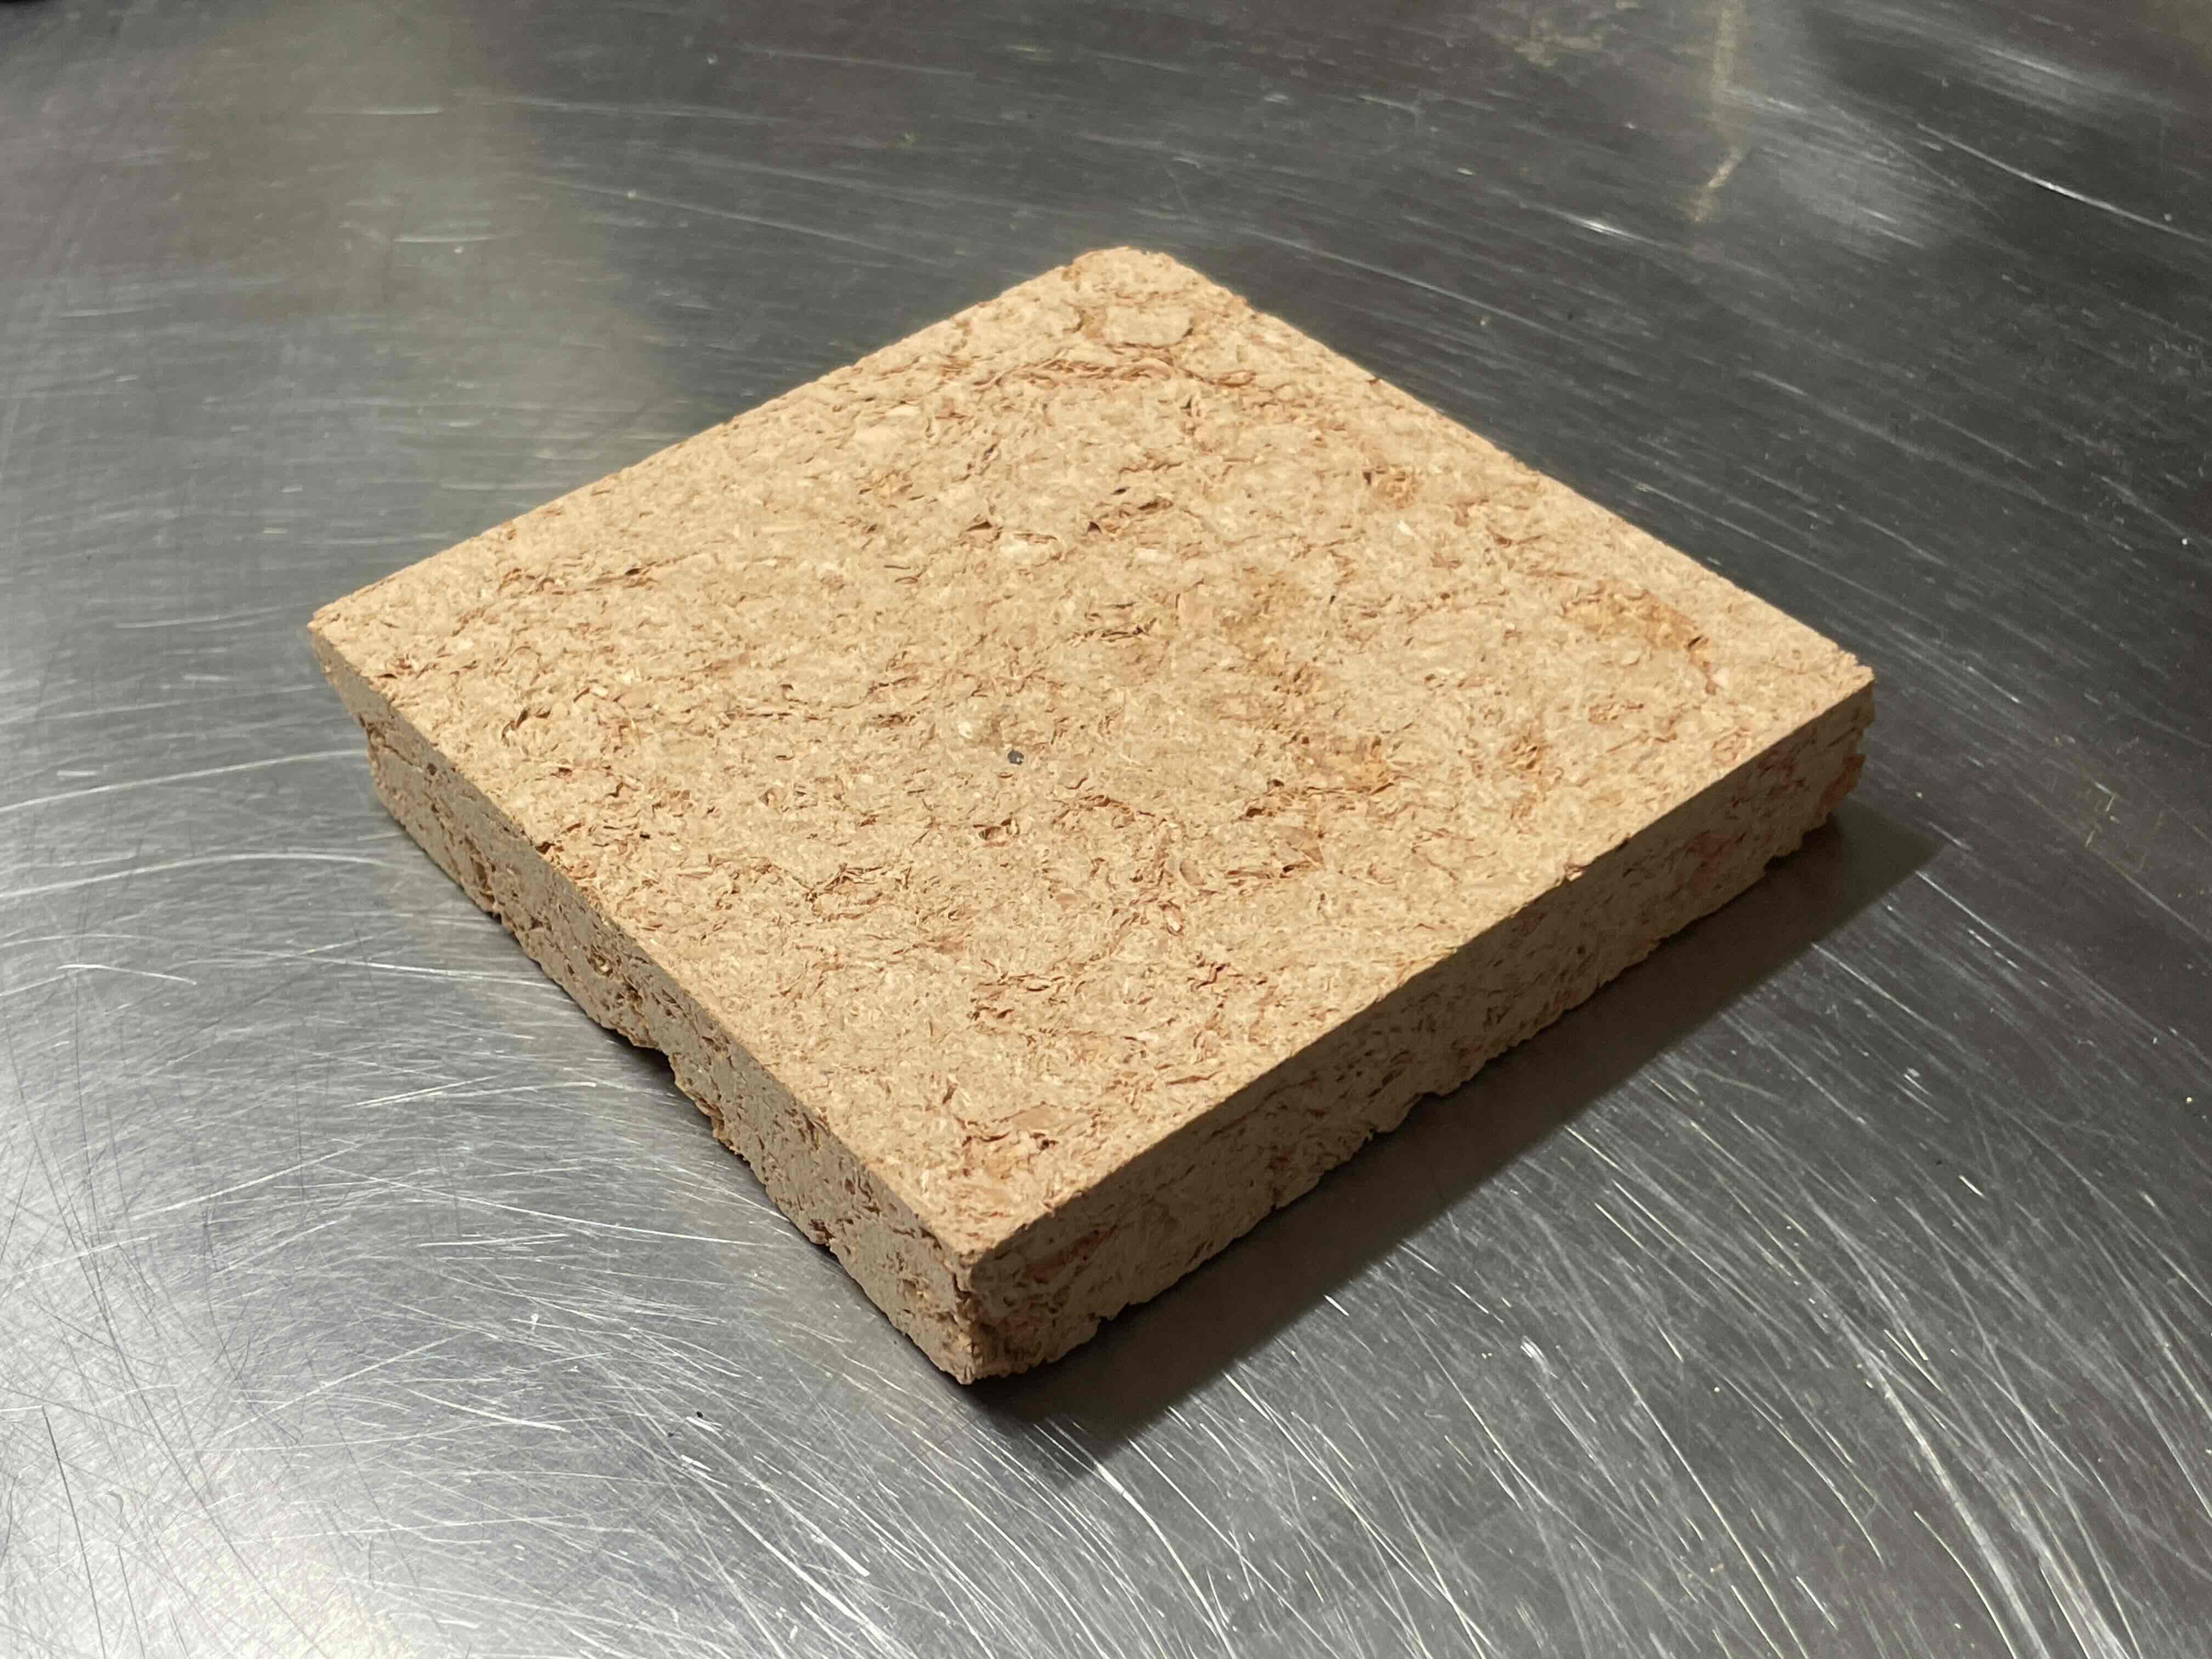
Based on current research into protein based adhesives(1) I have been making wood composites from jointer and planer shavings bound with a soy flour adhesive. I am hesitant to make any claims about the usefulness or functionality of the material at this point, I have not put it through any strenuous or quantitative testing. That being said, I am making objects with the material, and in some limited use cases, it seems ready for function. At the very least it is ready to be comfortably an art object.

This work began with a twofold frustration. The first was the inherent wastefulness in woodworking, where so much time and energy is spent finding the few straight and square boards inside a tree, while disregarding the rest in large part. This issue seems to be particularly prevalent in smaller shops where it is not cost effective to find other use cases for that waste stream, such as the one that I work for. I wanted to find a way to use the entirety of the tree where theoretically a whole log could be processed into objects, rather than just the parts that were straight and square or even “pretty.” Castable wood composites felt like a logical and achievable solution to this issue, where the exact amount of material (wood chips) could be cast into the exact shape they needed to be in the first place with minimal post processing. This thought process to me is related to the pursuits of additive manufacturing and even biofabrication. However it would likely fall closer to the traditional end of the spectrum than those disciplines.
The second frustration that I confronted was after I began looking into ways of binding the woodchips. I found the adhesive industry to be almost wholly reliant on petrochemicals, particularly for the use cases I was interested in. While epoxy might be the obvious choice as it is readily available, relatively simple to use, and quite durable, it also feels like an antithesis to the initial goal of the project. Plastic and plastic adhesives do not age gracefully, nor do those who are overly exposed to them. There is hardly a biodegradable and healthy adhesive to be seen in wide use for this kind of engineered wood composite. Even PVA glue is derived from petrochemicals. Thankfully, there is still some research into other adhesives, like those mentioned in the above paper, things just still feel early in development, especially at a commercial scale.
Testing and Results
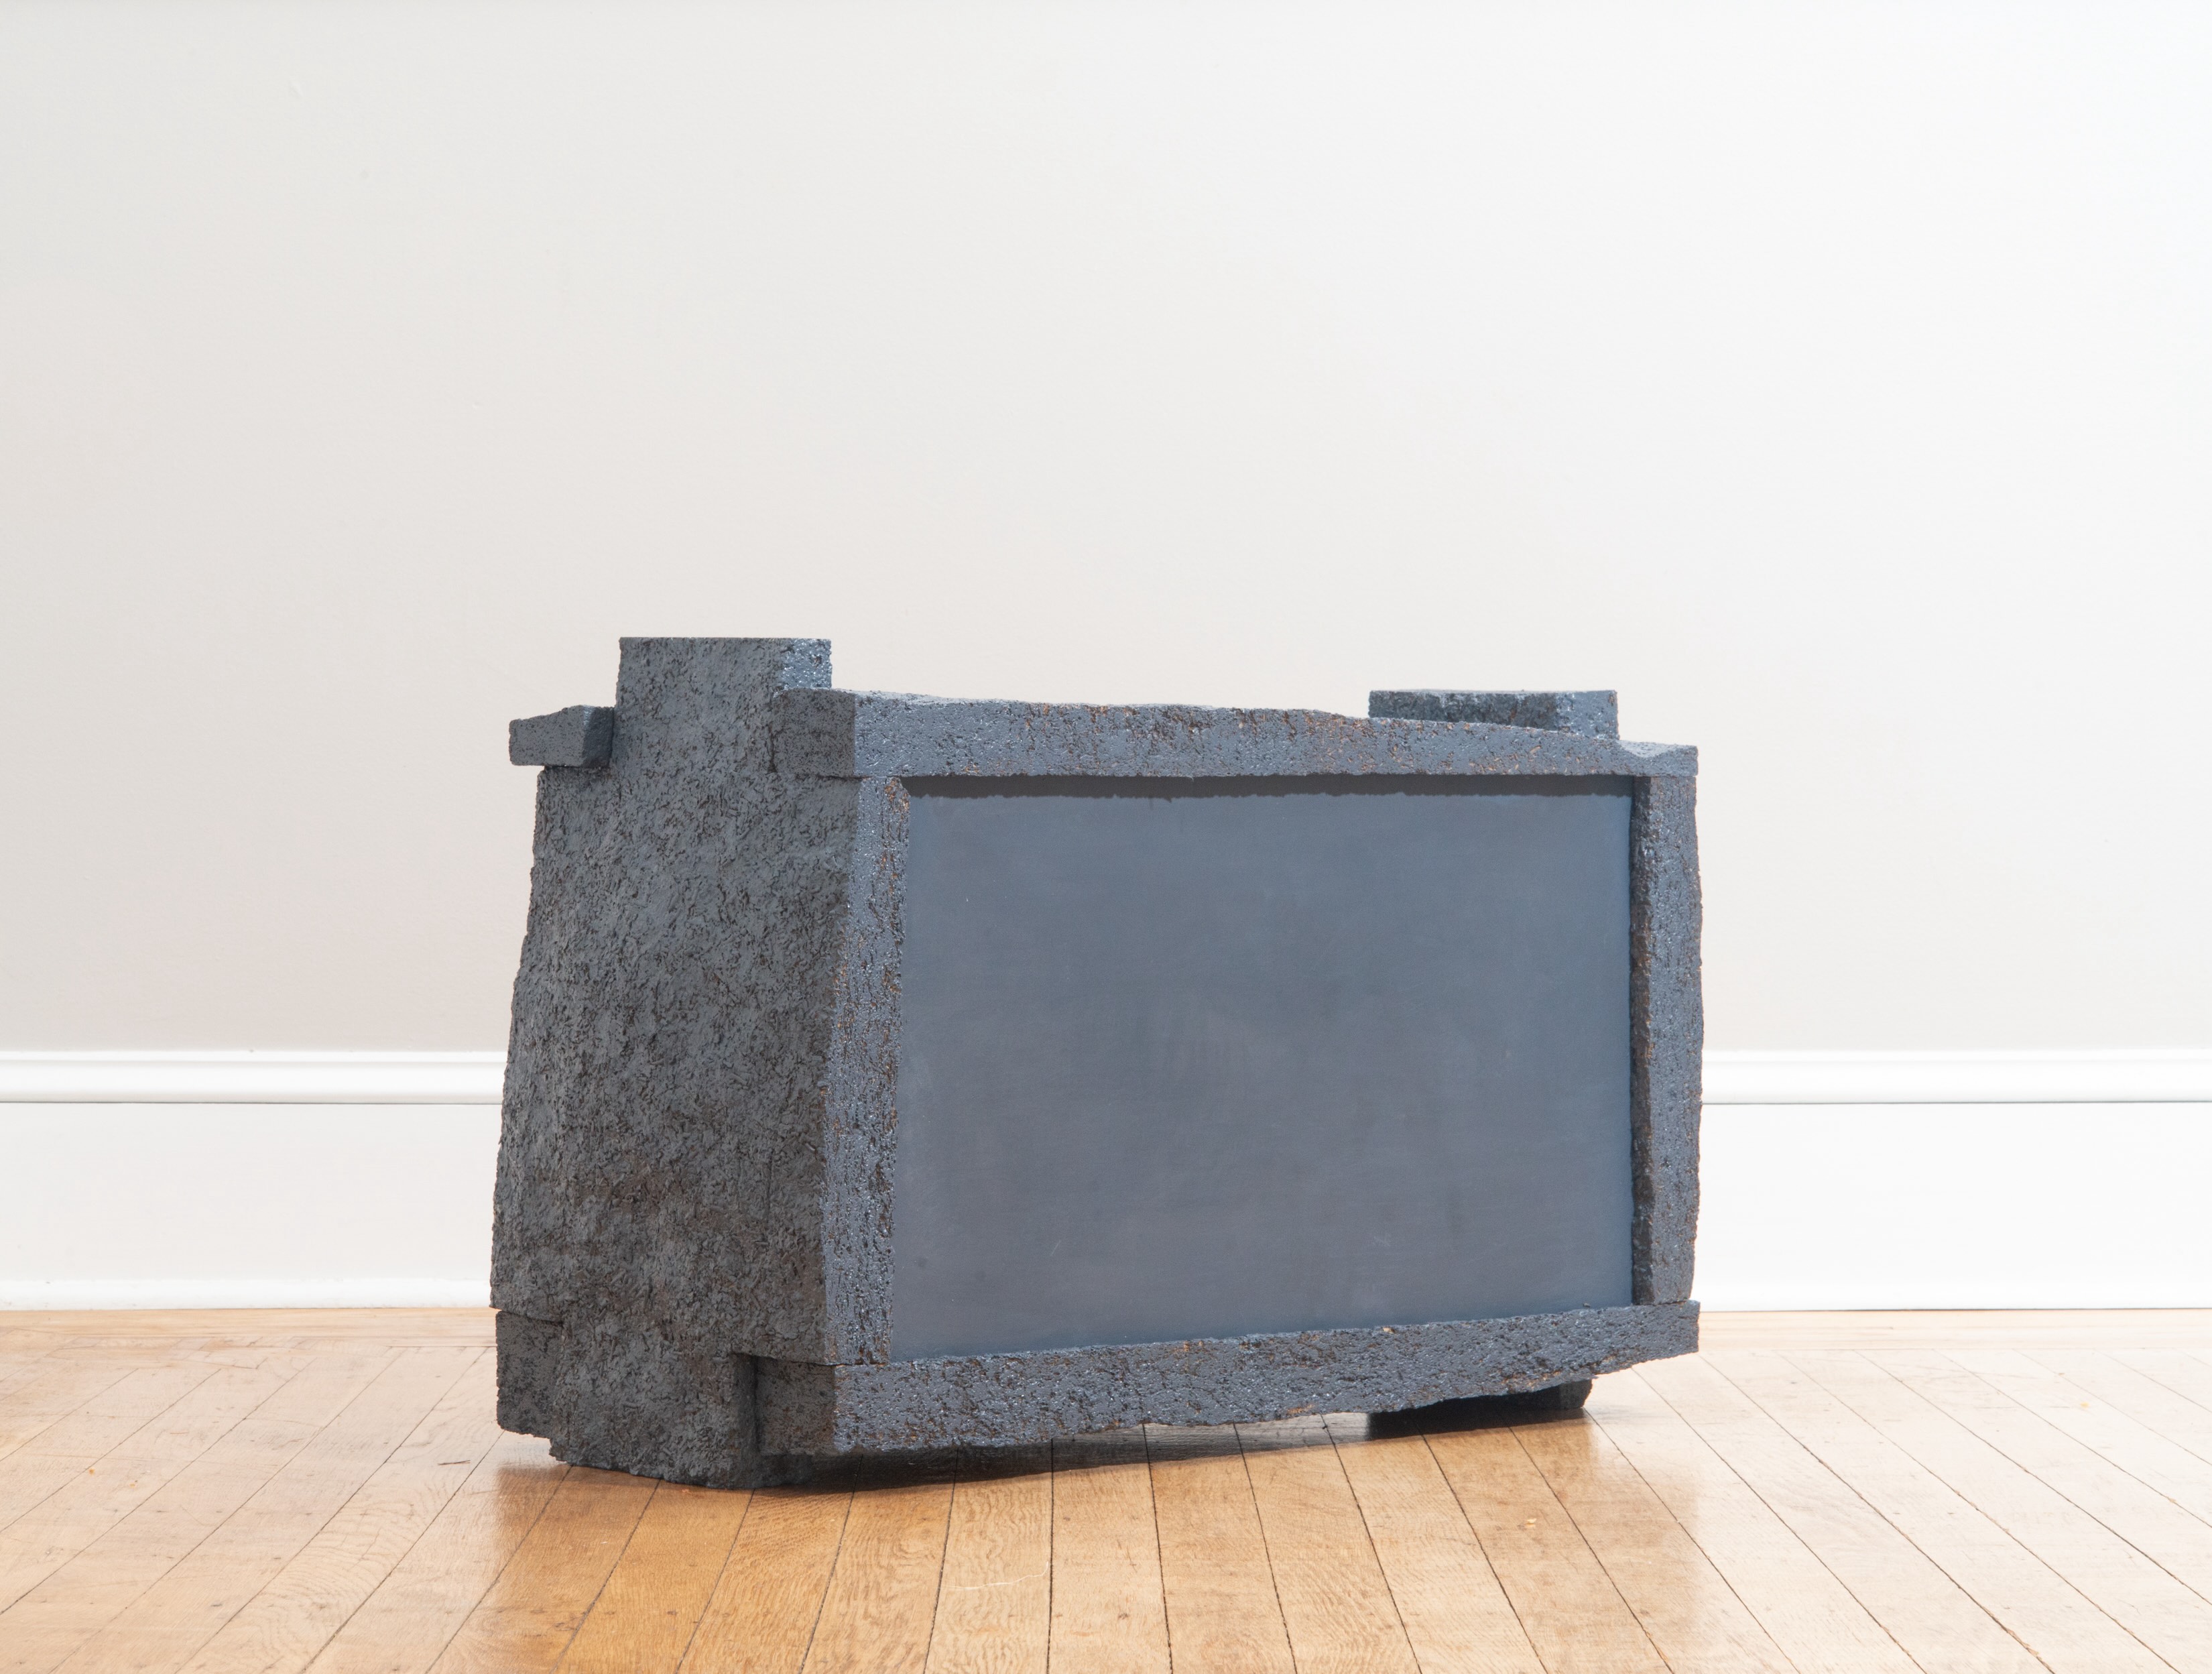
To date I’ve cast many samples with this material, as well as a few objects, an imperfect tray, a picture frame, and four large panels that have made up this time machine object.
With these samples I started testing some surface finishes, as well as what it was like to perform post casting operations on it. I applied ottosson linseed oil paint to one, which seems to make the material less brittle as the oil soaks in, even after drying. I would also expect that the paint also makes the material more resistant to water, which is certainly one of its biggest weaknesses. To another, I sanded down its rough surfaces with a belt sander, and then applied veneer with Titebond 3 adhesive to its two largest sides. I would guess that this makes the material stronger, especially if the veneer was double layered and cross laminated (I did not do this for the initial test). It also gives the material a much more traditional appearance. I have also run the material through a table saw, and cut slots in it with a router. It has the potential to hold sharp clean edges.
Below I’ve outlined the process for working with the material. It is not necessarily complicated, but certainly still early in development, and not without some nuance. Please feel free to reach out with any questions!

Process
I have had trouble coming up with a good calculator for volume. At small scales it seems that 2.5g of soy flour and 2.5g of woodchips per 1 cubic inch is a good starting point. However at large scales it seems that you may need as much as twice that amount to get the volume you need. It is also worth noting that there seems to be ~3% shrinkage in the part as it dries.
Mix the citric acid into the water, and then add the soy flour bit by but, mixing until homogenous and avoiding clumps. A sifter is recommended but not necessary.
Add the wood chips, and continue mixing until the adhesive is evenly distributed.
Once mixed, pack tightly and evenly into an open faced mold. Use a ram and start in thin layers.
Remove from the mold and place in an oven or similar for 9-96 hours at between 60-75 degrees C until dry. Convection is strongly recommended if not completely necessary for thicker pieces especially.
(1)Raydan, N.D.V.; Leroyer, L.; Charrier, B.; Robles, E. Recent Advances on the Development of Protein-Based Adhesives for Wood Composite Materials—A Review. Molecules 2021, 26, 7617. https:// doi.org/10.3390/molecules26247617